

Are you handy around the home? Good news – you’ll be just as handy around the RV! While every RV is designed to be rugged and reliable, you’ll eventually come across an issue in need of repair. Some problems may require the help of a trained mechanic, but for everything else, DIY RV repair is definitely an option! Read on to learn some of the common RV repairs that are easy for almost anyone to handle on their own – saving you time and money.
First Things First: Don’t Wing It!
If you aren’t experienced with repair work, you may do more harm than good. Like any vehicle or equipment, your trailer has a lot of working parts. If you break more than fix along the way, you’ll just increase your costs when you eventually take it to be repaired at a shop.
The longer you own your RV, the more likely you are to be familiar with its various parts. You might even become comfortable enough to install your own DIY RV upgrades! But for new owners and those that shy away from DIY work, don’t do anything that you’re unsure of when working on your RV!
If you plan any DIY RV repairs, we recommend that you seek out one of the many great RV communities online. They often have information that’s relevant to your RV’s issue, or they can answer your specific questions!
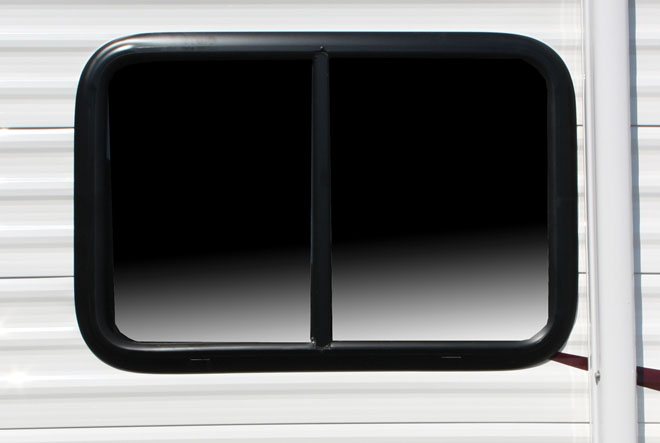
Repair Damaged Window Screens
No matter where you go to camp, there’s one constant: bugs. And the best defense your RV has against them is a screen door. But when your family is going in-and-out of the RV every minute, your screen door will start to take a beating. Fortunately, screen doors are one of the easiest DIY RV repairs you’ll ever have to do!
#1. Remove the Screen from the Frame
Working on the flat ground can be far easier than repairing your screen when it’s still in the frame. Most screen doors should allow you to use a putty knife or similar tool to pop it out of the frame. In other cases, there may be easier releases designed to let you remove the frame in seconds.
Just remember not to force it! You don’t want to add repairing the door to your list of chores.
#2. Cut Out the Damaged Screen
It’s easiest to start with a clean slate, so even if only part of the screen is damaged, consider replacing the entire screen. It will go faster and it never hurts to have a brand new screen. A small knife or even a flathead screwdriver should be able to remove the splining so that you can remove the screen.
#3. Replace the Screen
Using a new roll of screen, simply unroll as much as you need across the now-empty frame. You’ll want to use a little more than the width and height of the frame, so that there’s enough to fit into the splining again.
After it’s in place, use a spline roller to replace the spline itself and use your knife to cut off any excess splining. There will also be some remaining screen to cut off as well.
From there, you just need to replace the frame and you can enjoy the cool night air with no bugs again!
Damaged Rubber Roof
The roof of your RV is critically important – especially if you’ve installed solar panels for your RV. It keeps debris and water out of your RV, with water being especially damaging to the longevity of your vehicle. Unfortunately, due to the height of most RVs, it’s not uncommon to have branches or other low-hanging objects come into contact with the roof.

When this happens, you must inspect the roof to guarantee that it’s free from harm. While a few scratches or chalky stains on the roof won’t be a problem, a puncture or more severe damage on the rubber roof can quickly turn your RV into a tub of water!
Fortunately, a rubber roof isn’t that difficult for the average RV owner to repair. The biggest danger is, like always, using the ladder and being on top of your RV. You can find several types of roof repair or roof patch kits online. These have simple-to-follow instructions that walk you through the process.
If you perform any type of RV roof repair, don’t forget to check the seams and seals. These are the most important parts of your roof that stop moisture from invading!
Identifying Water Leaks
When water starts leaking, it’s important to act quick. This is just as true in your RV as it is for your home. Unfortunately, like your home, it can be difficult to tell where water is coming from – or if it’s leaking at all!
The best single source for identifying a water leak with your plumbing is to look at your water pump. Shut off every faucet in your RV and keep an eye on your water pump. If it continues to cycle, water is being released somewhere that’s allowing the pressure to decrease.

You can also look underneath your RV to see if moisture is pooling underneath. If you notice fresh puddles of water on a dry day, it’s likely that water is finding its way out somewhere.
Fortunately, once you know there is a leak, you can start working on hunting down the source. If you’re familiar with plumbing, it shouldn’t take too long to fix the leaks. If you’re not, call for repairs as soon as possible – water damage can be costly!
RV Vent Lid Replacement
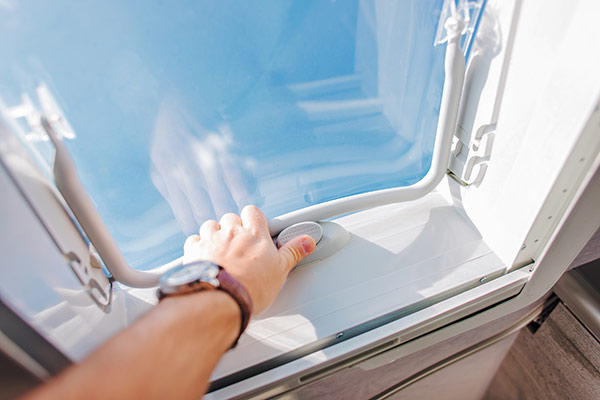
Your RV vent and vent lid help with keeping your RV cool. In the middle of summer, that’s pretty important! Over time, your RV’s vent lid is almost guaranteed to be damaged by an incident like hitting a branch. This happens because sun damage is especially harsh on plastics – and your RV vent lid can experience hours of sun exposure every day that it’s outside.
#1. Find the Right Lid
On the bright side, replacing your vent lid is surprisingly easy. The most difficult part of doing so is finding the right lid (your dealer can help you with this part.) You can also take some time now, while it’s still in great condition, to note down any information about your current lid you can. This will help you find a replacement down the road.
#2. Remove the Existing Lid
The process for removing the existing lid should be the same whether you’re removing it due to damage or simply age. For existing vent lids that use a hinge, all you’ll need to do is remove the hinge pins. You may have to remove a screw or two, but otherwise, you can simply slide the vent off from where it was hinged in place.
#3. Install the New Lid
If your new lid is like your old one, you should be able to simply reverse the process in step two to replace it! However, if you want to go the extra mile, you can incorporate an extra self-leveling sealer to reinforce the seal and keep your RV more protected than it was before.
Sun-damaged Hatches and Trim
Another common issue with sun damage are your trim or hatches. Over time, the exposure can lead them to fade and even become yellowed, ruining the overall look of your RV. But they’re simple to repair! All you need is some sandpaper, painter’s tape and a can of spray paint that matches your RV.

Using a medium-fine grit sandpaper, sand down any sun-damaged spots that you want to refinish on your RV. Tape off the area around the location you’re refinishing to protect it. Use the spray paint to coat the hatches or trim you’re working on. You’ll need to use multiple layers to fully cover it!
Once it’s dried, you can peel off the tape. Consider caulking around the panel too with a matching color, if it’s needed. It improves the look of the refinishing and can make your RV look like new!
Part of your RV maintenance should include cleaning, waxing and sealing your RV. Not only does it make your RV look like new every day, it can help prevent or reduce some of the more common types of sun-damage!

Find the Perfect RV for You – Contact RV Wholesale Superstore
Looking for a new or used RV? The professionals at RV Wholesale Superstore are ready to help you find the perfect RV for your budget! Visit us in-person at 5080 W. Alexis Road, in Sylvania, OH or call us at (866) 596-7767.
Connect with us on Social Media!