

Winterizing an RV: What You Need to Know
Winter’s harsh elements can take a toll on your RV. After investing time and money into your travel trailer, you’ll want to make sure it survives the snow and cold without any damage. However, many new (or even experienced) RV owners are often left asking how to winterize an RV properly. Though winterizing RVs can take some effort, our instructions will ensure that you can winterize a travel trailer efficiently and effectively. The photos used in this demonstration are from a Bullet 272BHS Travel Trailer.

Removing Water from the Tanks
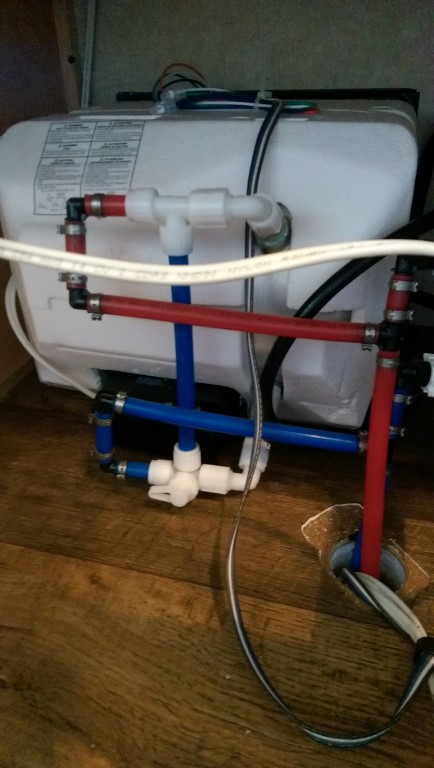
The most important aspect of winterizing an RV trailer is removing all of the water from tanks, lines, and fixtures. Water sitting in your tanks and water lines all winter will lower their quality. Plus, if the water freezes it could do serious damage to faucets and other fittings. Start with your black water tank and your grey water tank; after draining these tanks it is important to make sure they are flushed of any waste or debris that could make your spring de-winterization unpleasant. This can be accomplished with a tank flush system of a simple hose wand.
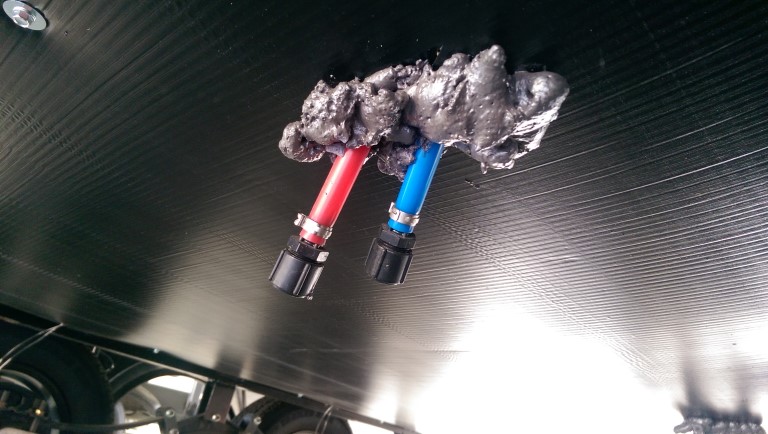
After your waste water tanks are drained and cleaned, using the low point drains fully open up all of the water lines, drain your fresh water and water heater tanks. This will remove the bulk of the water from the system. Once all the water is cleared from your hot water tank, fresh water tank, and hot and cold lines, close the low point drain for both hot and cold water, and place the water heater in bypass mode. Bypassing the water heater will prevent any air or anti-freeze used in the next steps from being pumped into the heater tank.
Fully Dry the System
Although this next step is optional, it is suggested to reduce antifreeze dilution. Open all faucets, don’t forget the outside shower, for foot flush toilets a concrete cinder block makes an excellent pedal depressor. Next, using a standard air compressor, pump air in through the city water inlet port of your travel trailer rv. This will allow air to blow most remaining water from the system.

Adding Anti-Freeze to Your RV for Winterization
Adding non-toxic anti-freeze to your water lines ensures that any leftover water will not freeze in the pipes and rupture a water line. To start this process, reclose all the fixtures that were opened in the air flush step. Many RVs have a winterization kit on the water system, however the Bullet we used in the demonstration is not equipped with this option. Even without out a built in winterization kit, retrofitting your existing water pump to pick up antifreeze instead of water from the fresh water tank is fairly easy. Using a winterization kit will prevent anti-freeze from entering your freshwater storage tank.
On a typical travel trailer, you should need 2-3 gallons of antifreeze to complete the winterization process. To begin pumping, put the pickup for the winterization kit into the antifreeze, switch the pump on. The initial uptake will fill all the water lines, hot and cold, with antifreeze, once the pump has fully pressurized the system, proceed to every faucet and fixture, and open each hot/cold valve until they run with antifreeze, flush to toilet until it runs with antifreeze. Besure to check on your supply of antifreeze at the winterization kit while you are doing this step. Finally, pour antifreeze into each drain and into the toilet.
For your convenience, we have provided a simple list of all the important steps you need to follow:
Why Winterize Your RV?
Now you know the general steps of how to winterize an RV – but why should you? It’s a fair question, but the answer is pretty straightforward. Here are some of the most important reasons to winterize an RV:
- Prevent Damage: Freezing temperatures can cause significant damage to your RV’s plumbing system. When it comes to keeping your RV in good shape for the long-term, protecting the plumbing system is a great way to make any RV last.
- Save Money: Proactively winterizing can save you from expensive repairs due to water damage or burst pipes. Not to mention the headaches and possibly even missed trips due to these repairs!
- Preserve Resale Value: Maintaining your RV in good condition helps retain its value. An RV is an investment. And while it’s perfectly normal to keep an RV for decades, if you plan to sell or upgrade, winterizing is a great way to avoid some wear-and-tear your RV might otherwise suffer.
Your Winterize RV Checklist
- Drain & Flush Waste Water Tanks
- Drain Water Tank
- Drain Water Heater
- Drain Water Lines
- Bypass Water Heater
- Blow Air Through Water Lines
- Install Winterization Kit
- Pump Antifreeze

Contact RV Wholesale Superstore
The professionals at RV Wholesale Superstore are ready to help you find the perfect RV for you and your family. Visit us in-person at 5080 W. Alexis Road, in Sylvania, OH or call us at (419) 786-1126
Connect with us on Social Media!